
Patching a Turnshoe Sole
When my turnshoes wore through, I wanted to patch them to extend the working life of the shoe and save quickly wearing another hole through my wool hose.
Olaf Goubitz had the following to say about turnshoes in Stepping Through Time:
When single soles in turnshoes wore through they might be patched. Although the holes were usually quite small, patches would be sewn under to cover the entire front of the foot and/or the heel area. The waist was generally not patched over. These patches would be sewn on around the circumference of the sole: onto the sole itself, to the rand or to the upper. Fairly coarse basting or tunnel stitching would be used for this.
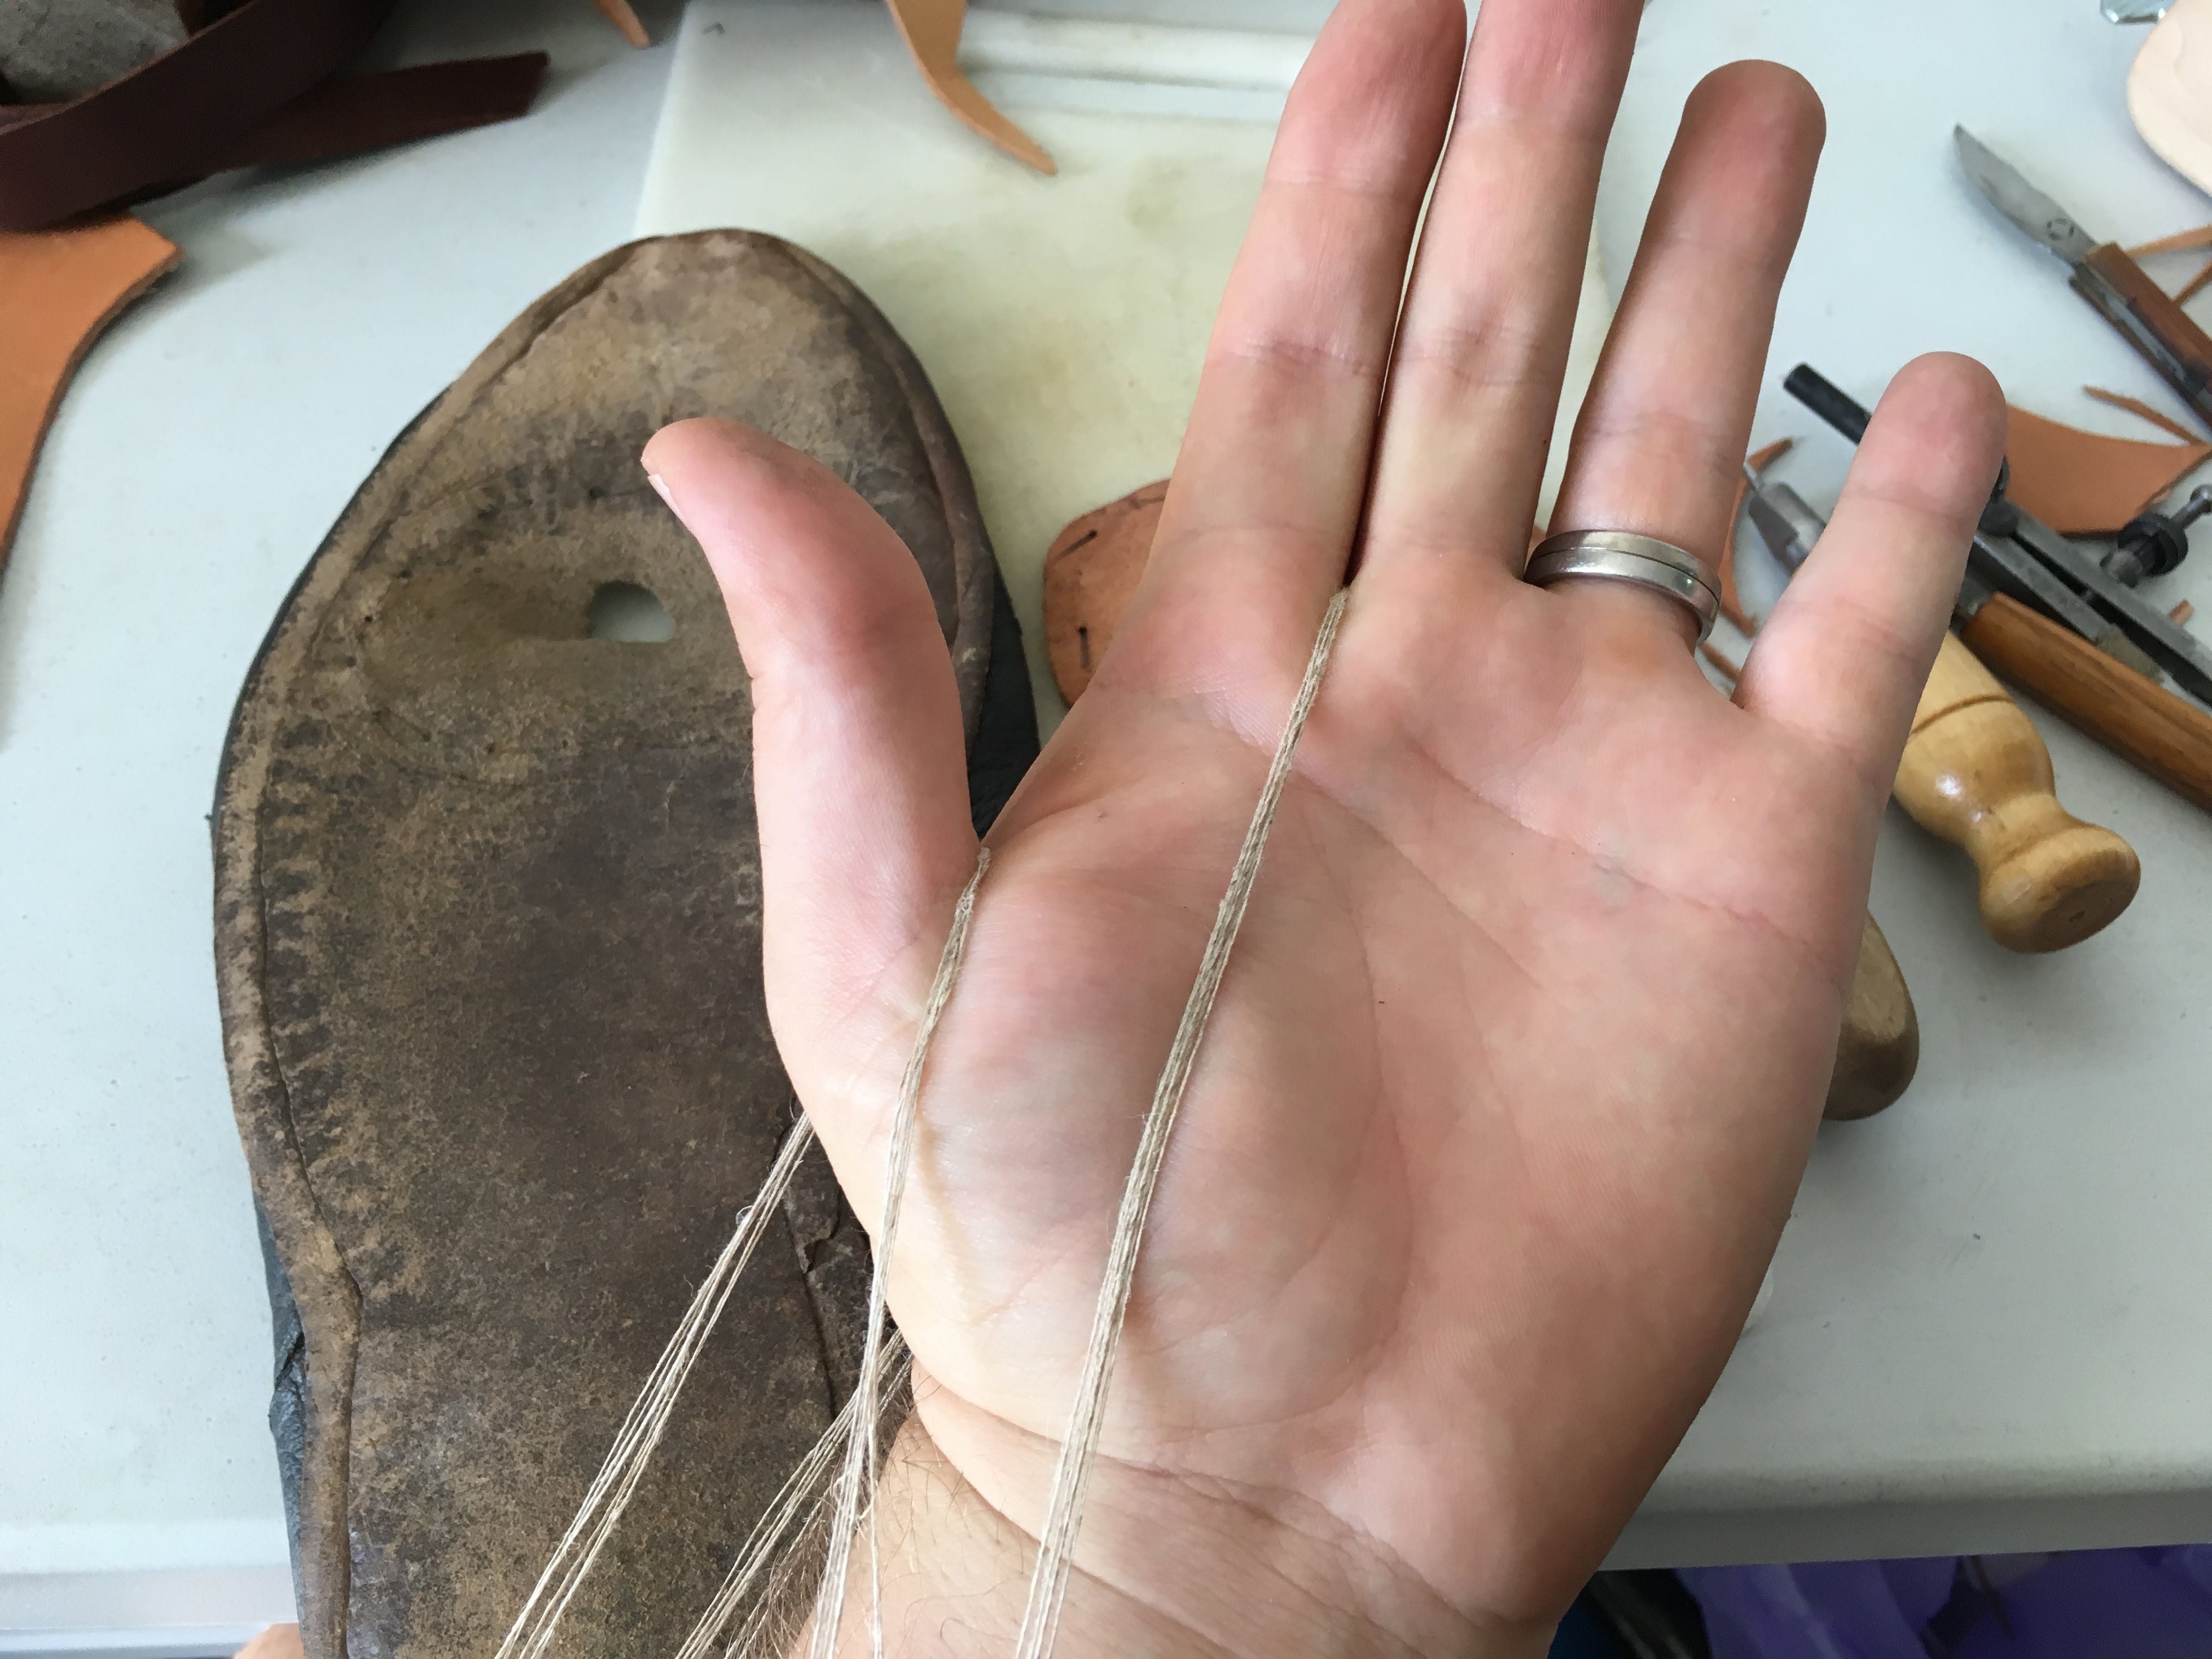
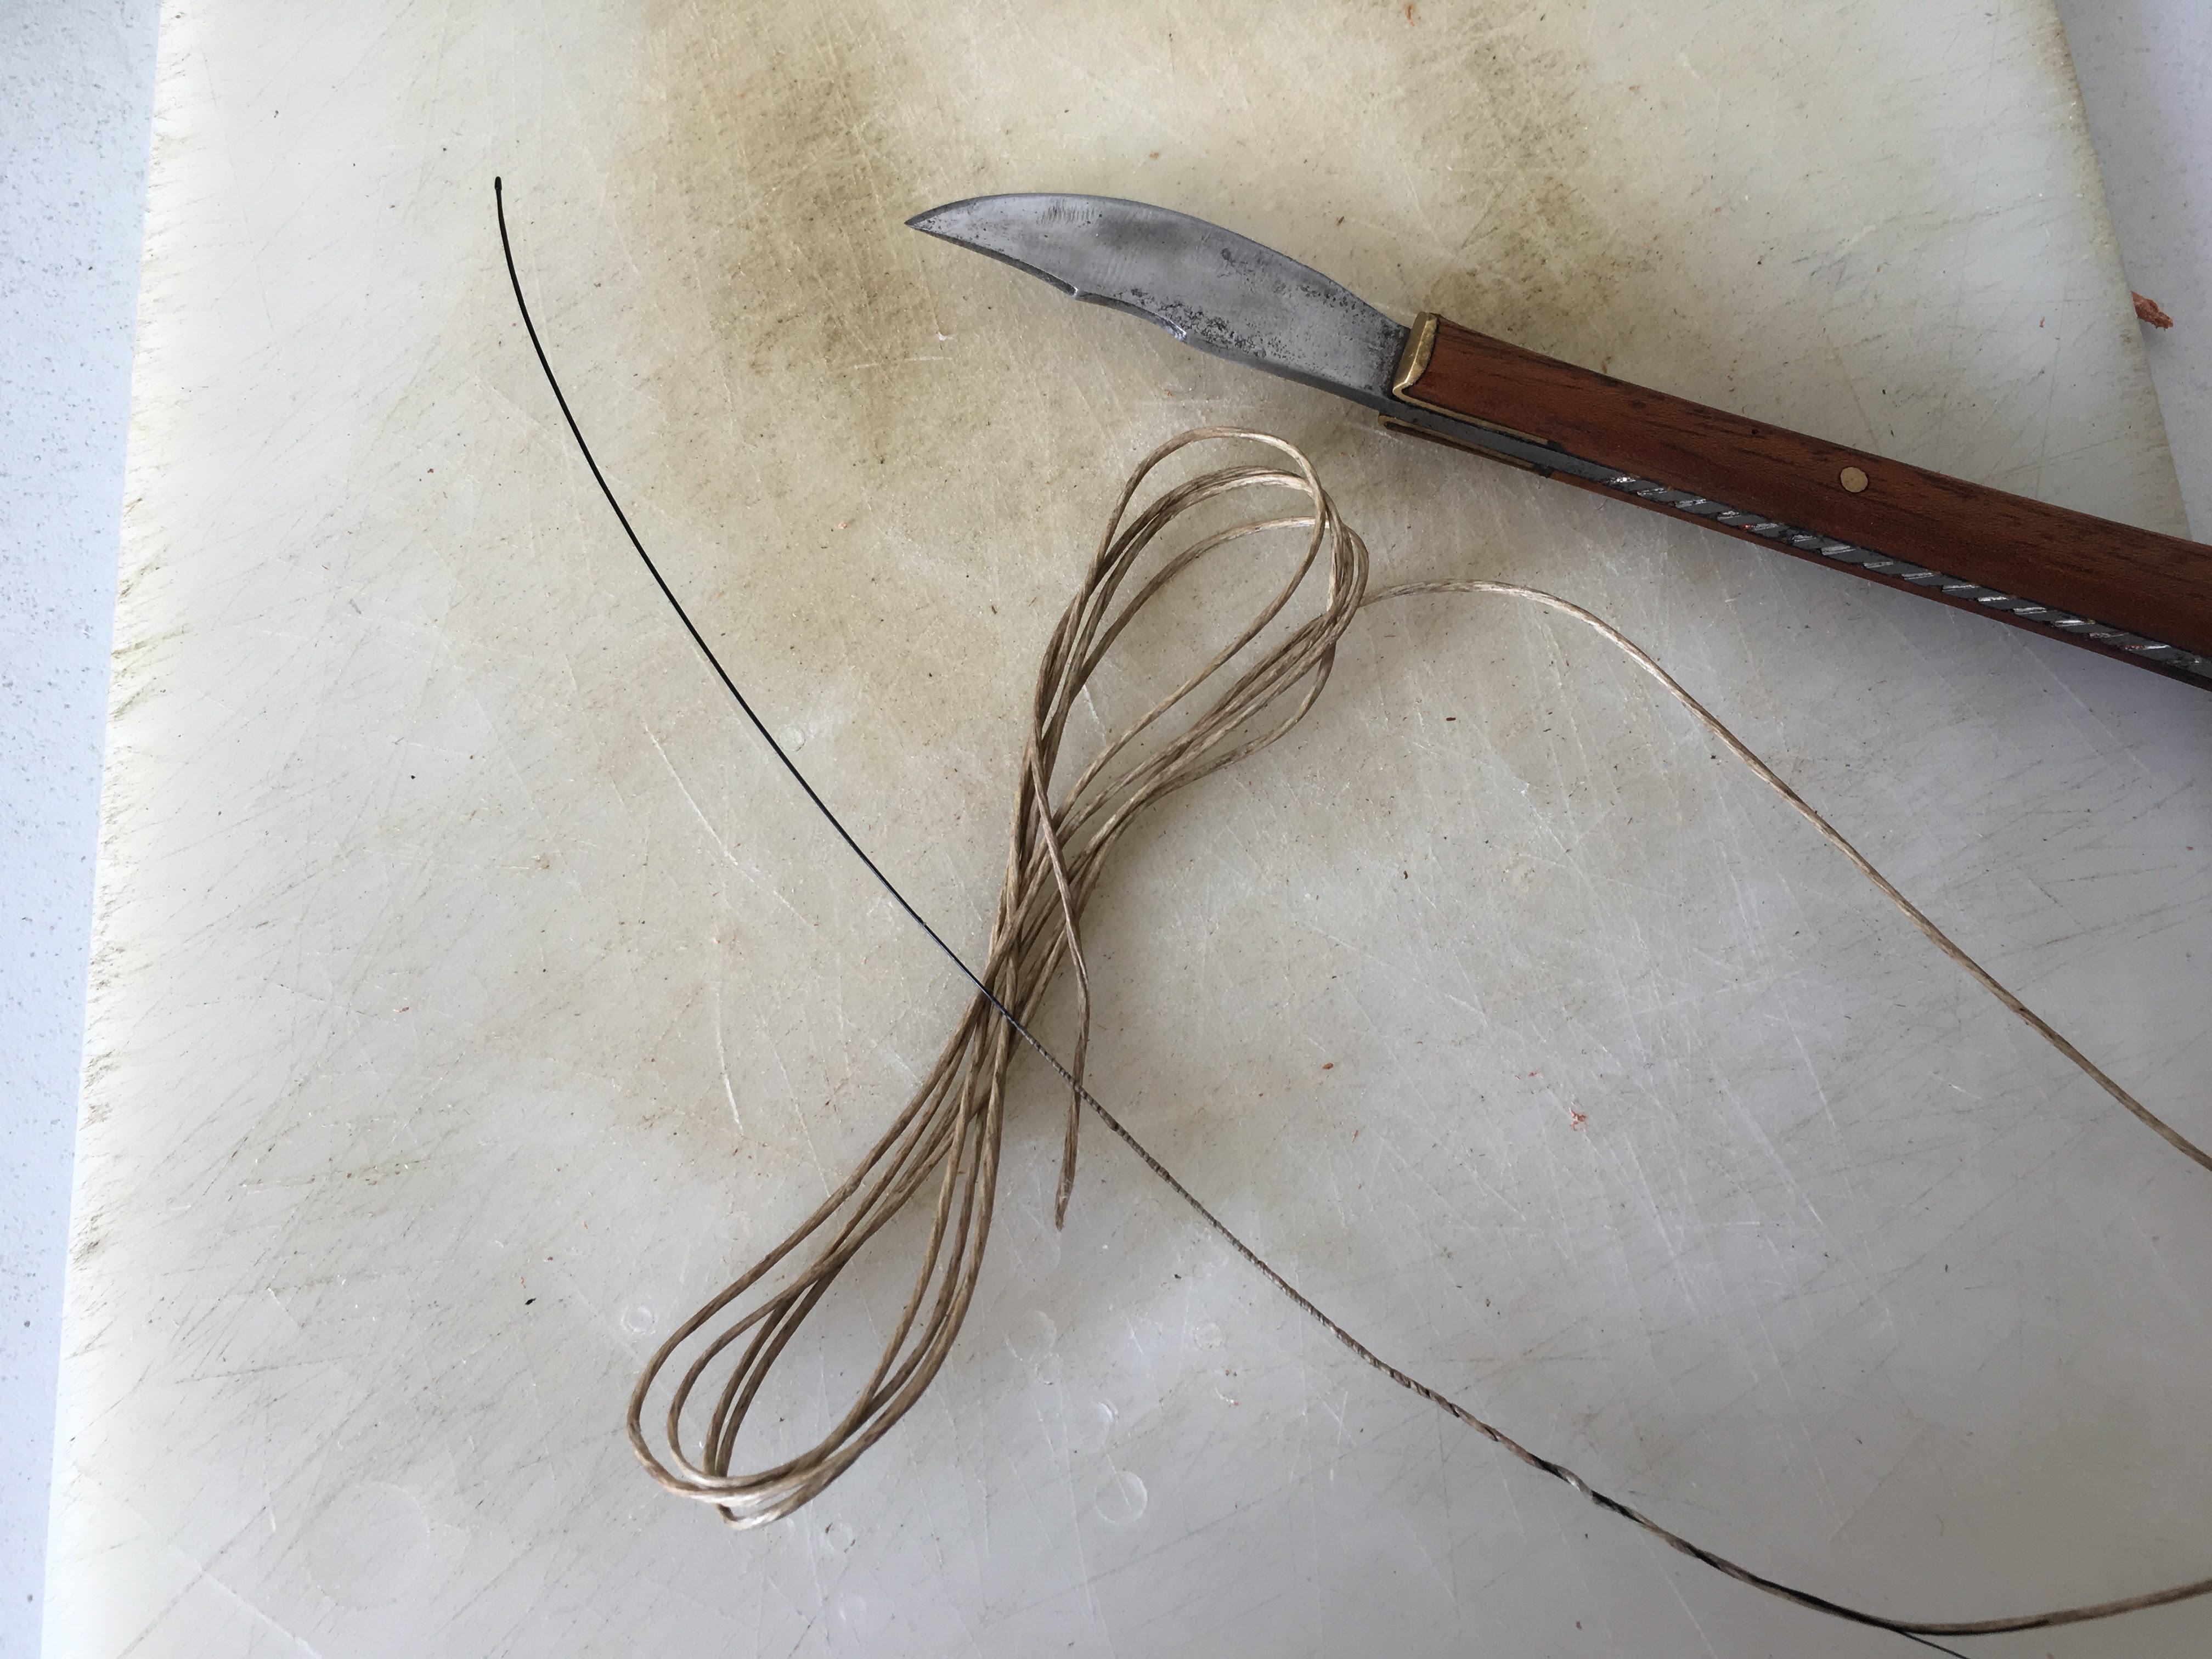
I chose a 2mm veg tan leather for the patch, sewn with a linen thread and boar bristle. For the thread I used a 20/7 thread, being 7 threads, each a 20 nel single ply. In the end I think this was a bit thin. To prepare the thread, I spooled it 7 times around my arm and twisted off the ends at varying lengths. This technique is demonstrated by Dr Marquita Volken in this video. When the thread is prepared with coad, a pine rosin mix, stitches glue into place. Because I needed to tighten down the patch, I rubbed beeswax over the sticky wax/rosin mix (coad) to try and keep it slippery. That seemed to work well.
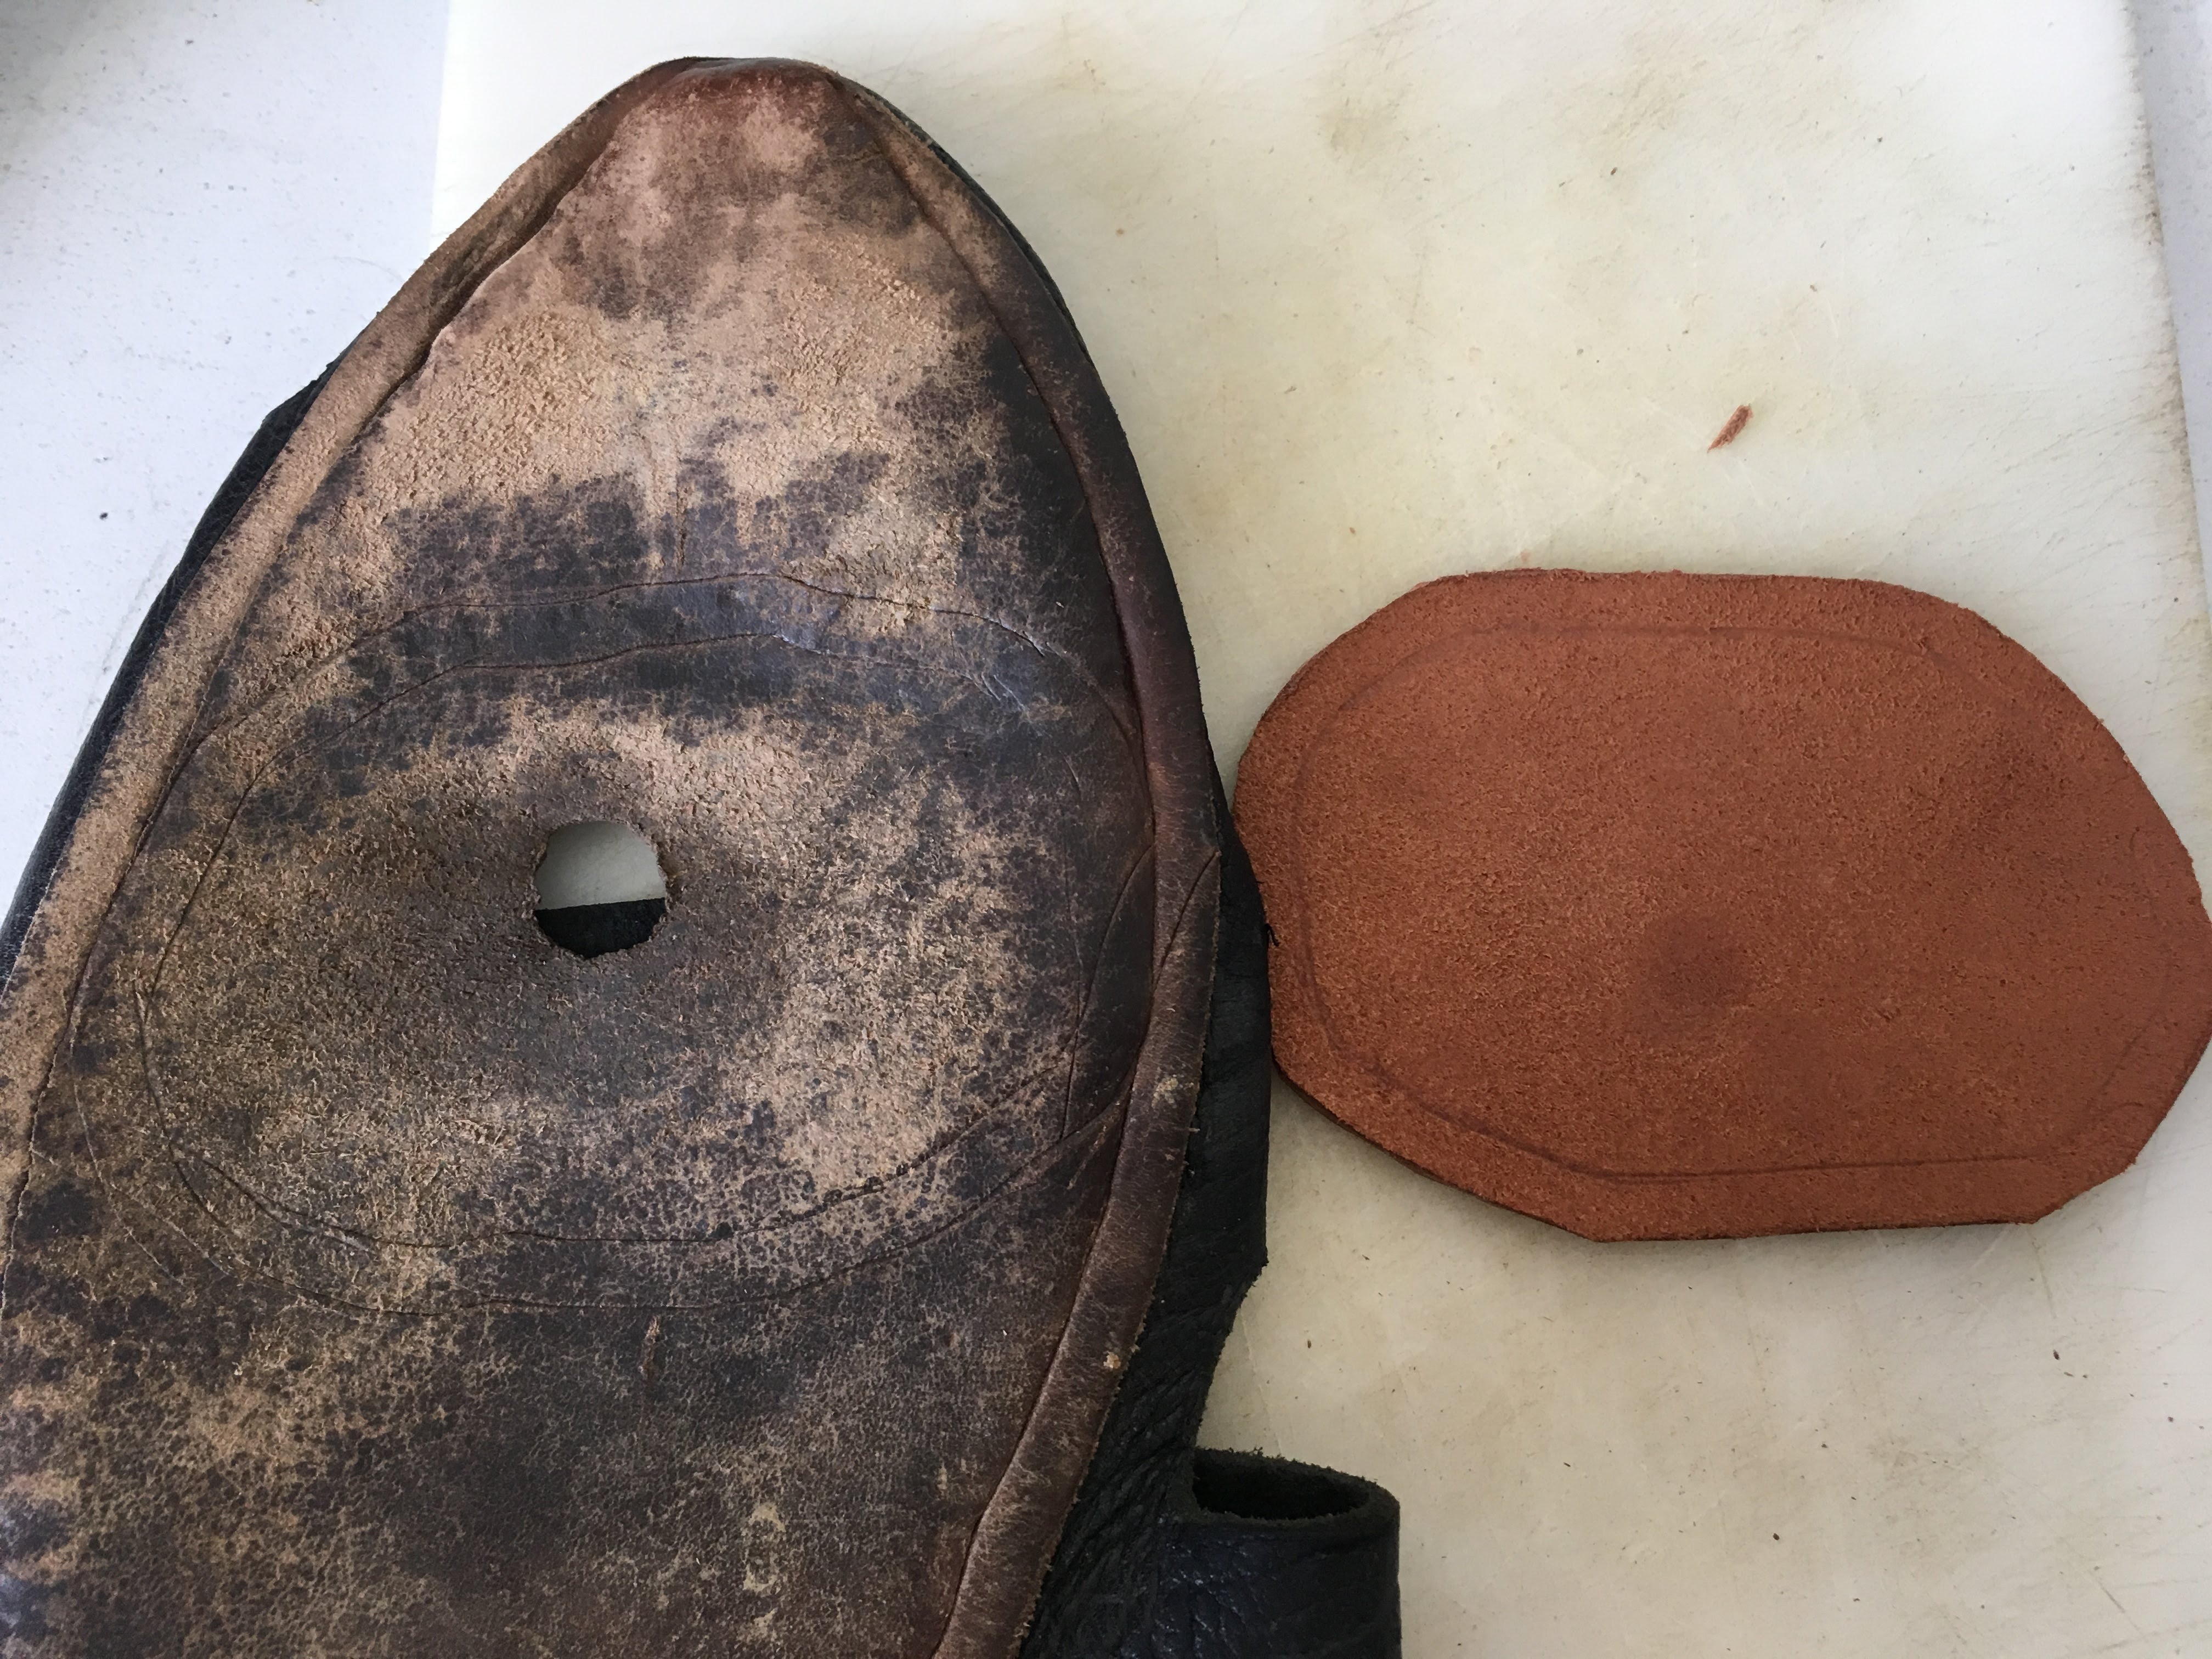
I cut the patch to shape, marked the patch shape onto the sole, marked 6mm inside each line and then walked 10mm dividers around the inside lines to step off the stitches. This was not rock-solid reliable and I had to adjust a few times as I went. I chose the patch shape to be stitched into thick areas of the sole which have more remaining material to stitch to, and I know they’re not pressure-points when I walk. Based on Goubitz’ description, I should probably have extended the patch to include the full toe of the sole. I also have a perfectly good welt I could have stitched to.
Next, I tunnel-awled both sides of the seam. I used a straight awl and bent the leather to get the tunnel stitch shape. For the 2mm patch, I got the awl into approximately the right depth and held the leather and awl between my thumb and forefinger so I could feel how much leather was on either side of the awl. I advance the awl with a gentle twist. If you lever on the awl it will snap. If you push the awl too hard it will tear through and out of the leather and land in your fingers, hand or leg flesh.

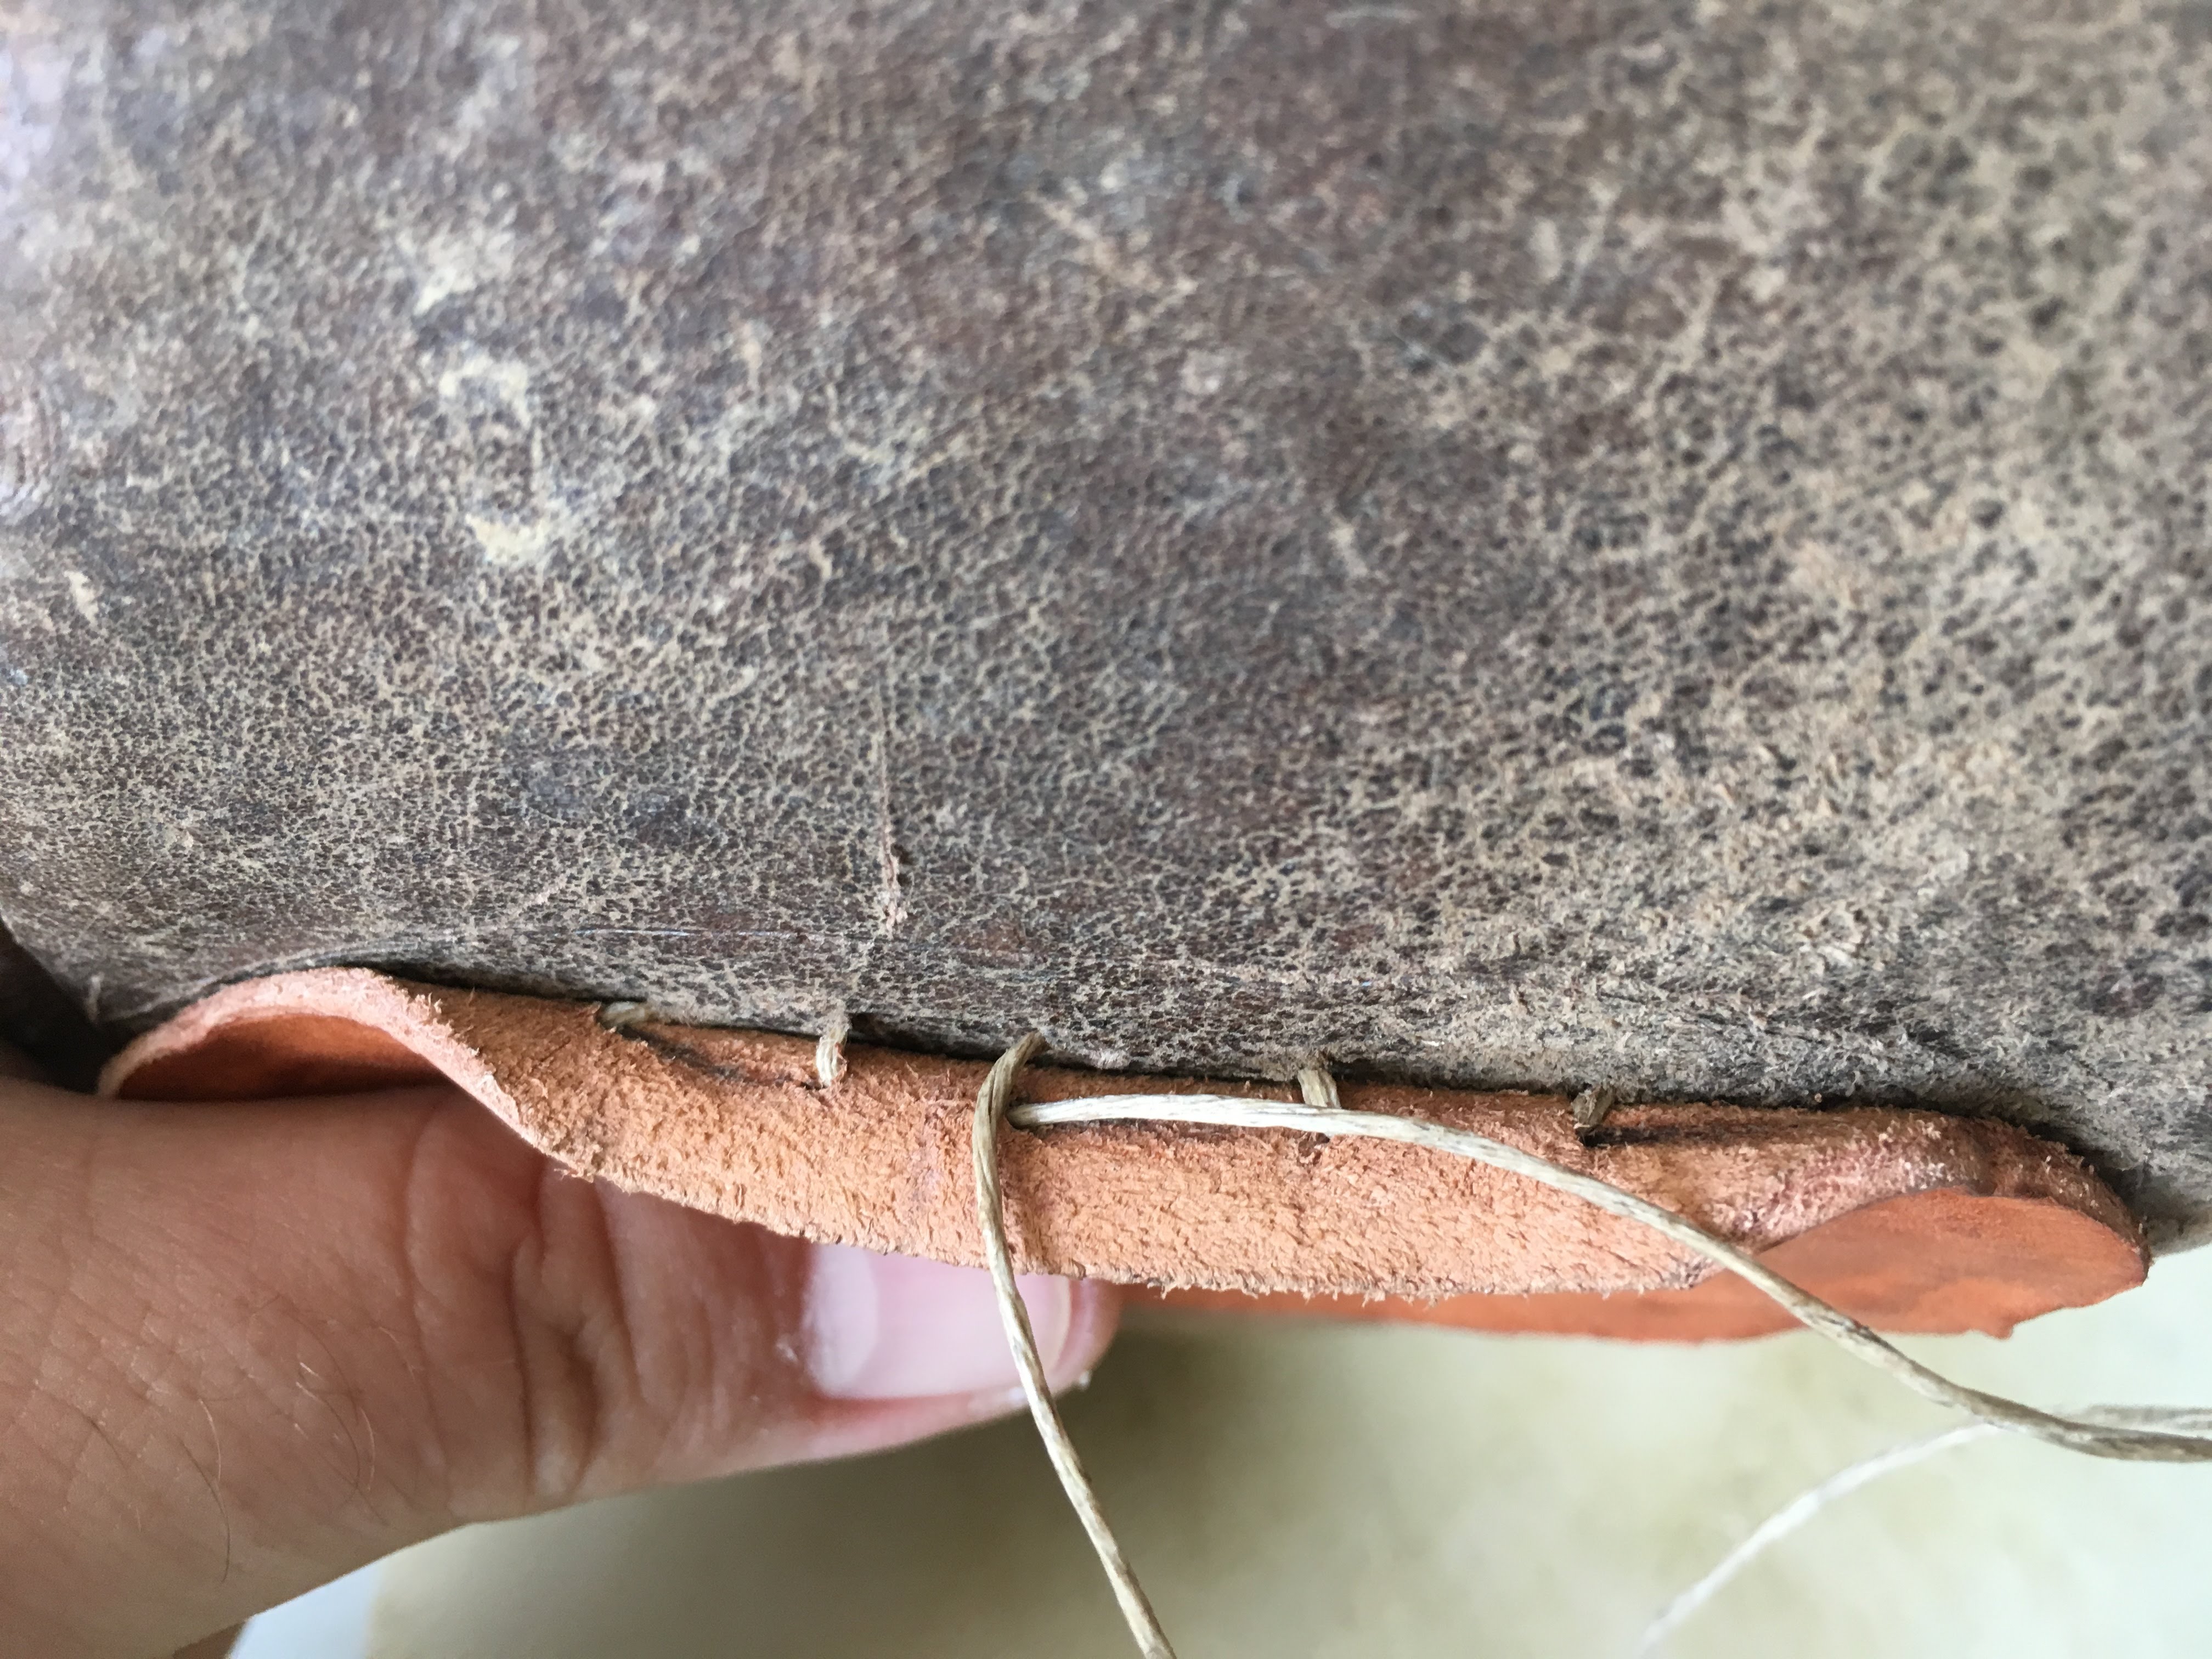
I stitched a single thread through the alternating tunnels, pulling the thread tight every few stitches. Using the bristle made it much easier to work between the patch and the sole. When I got back to the end of the seam I tied a square knot (reef knot) between the patch and the sole and cut the thread.

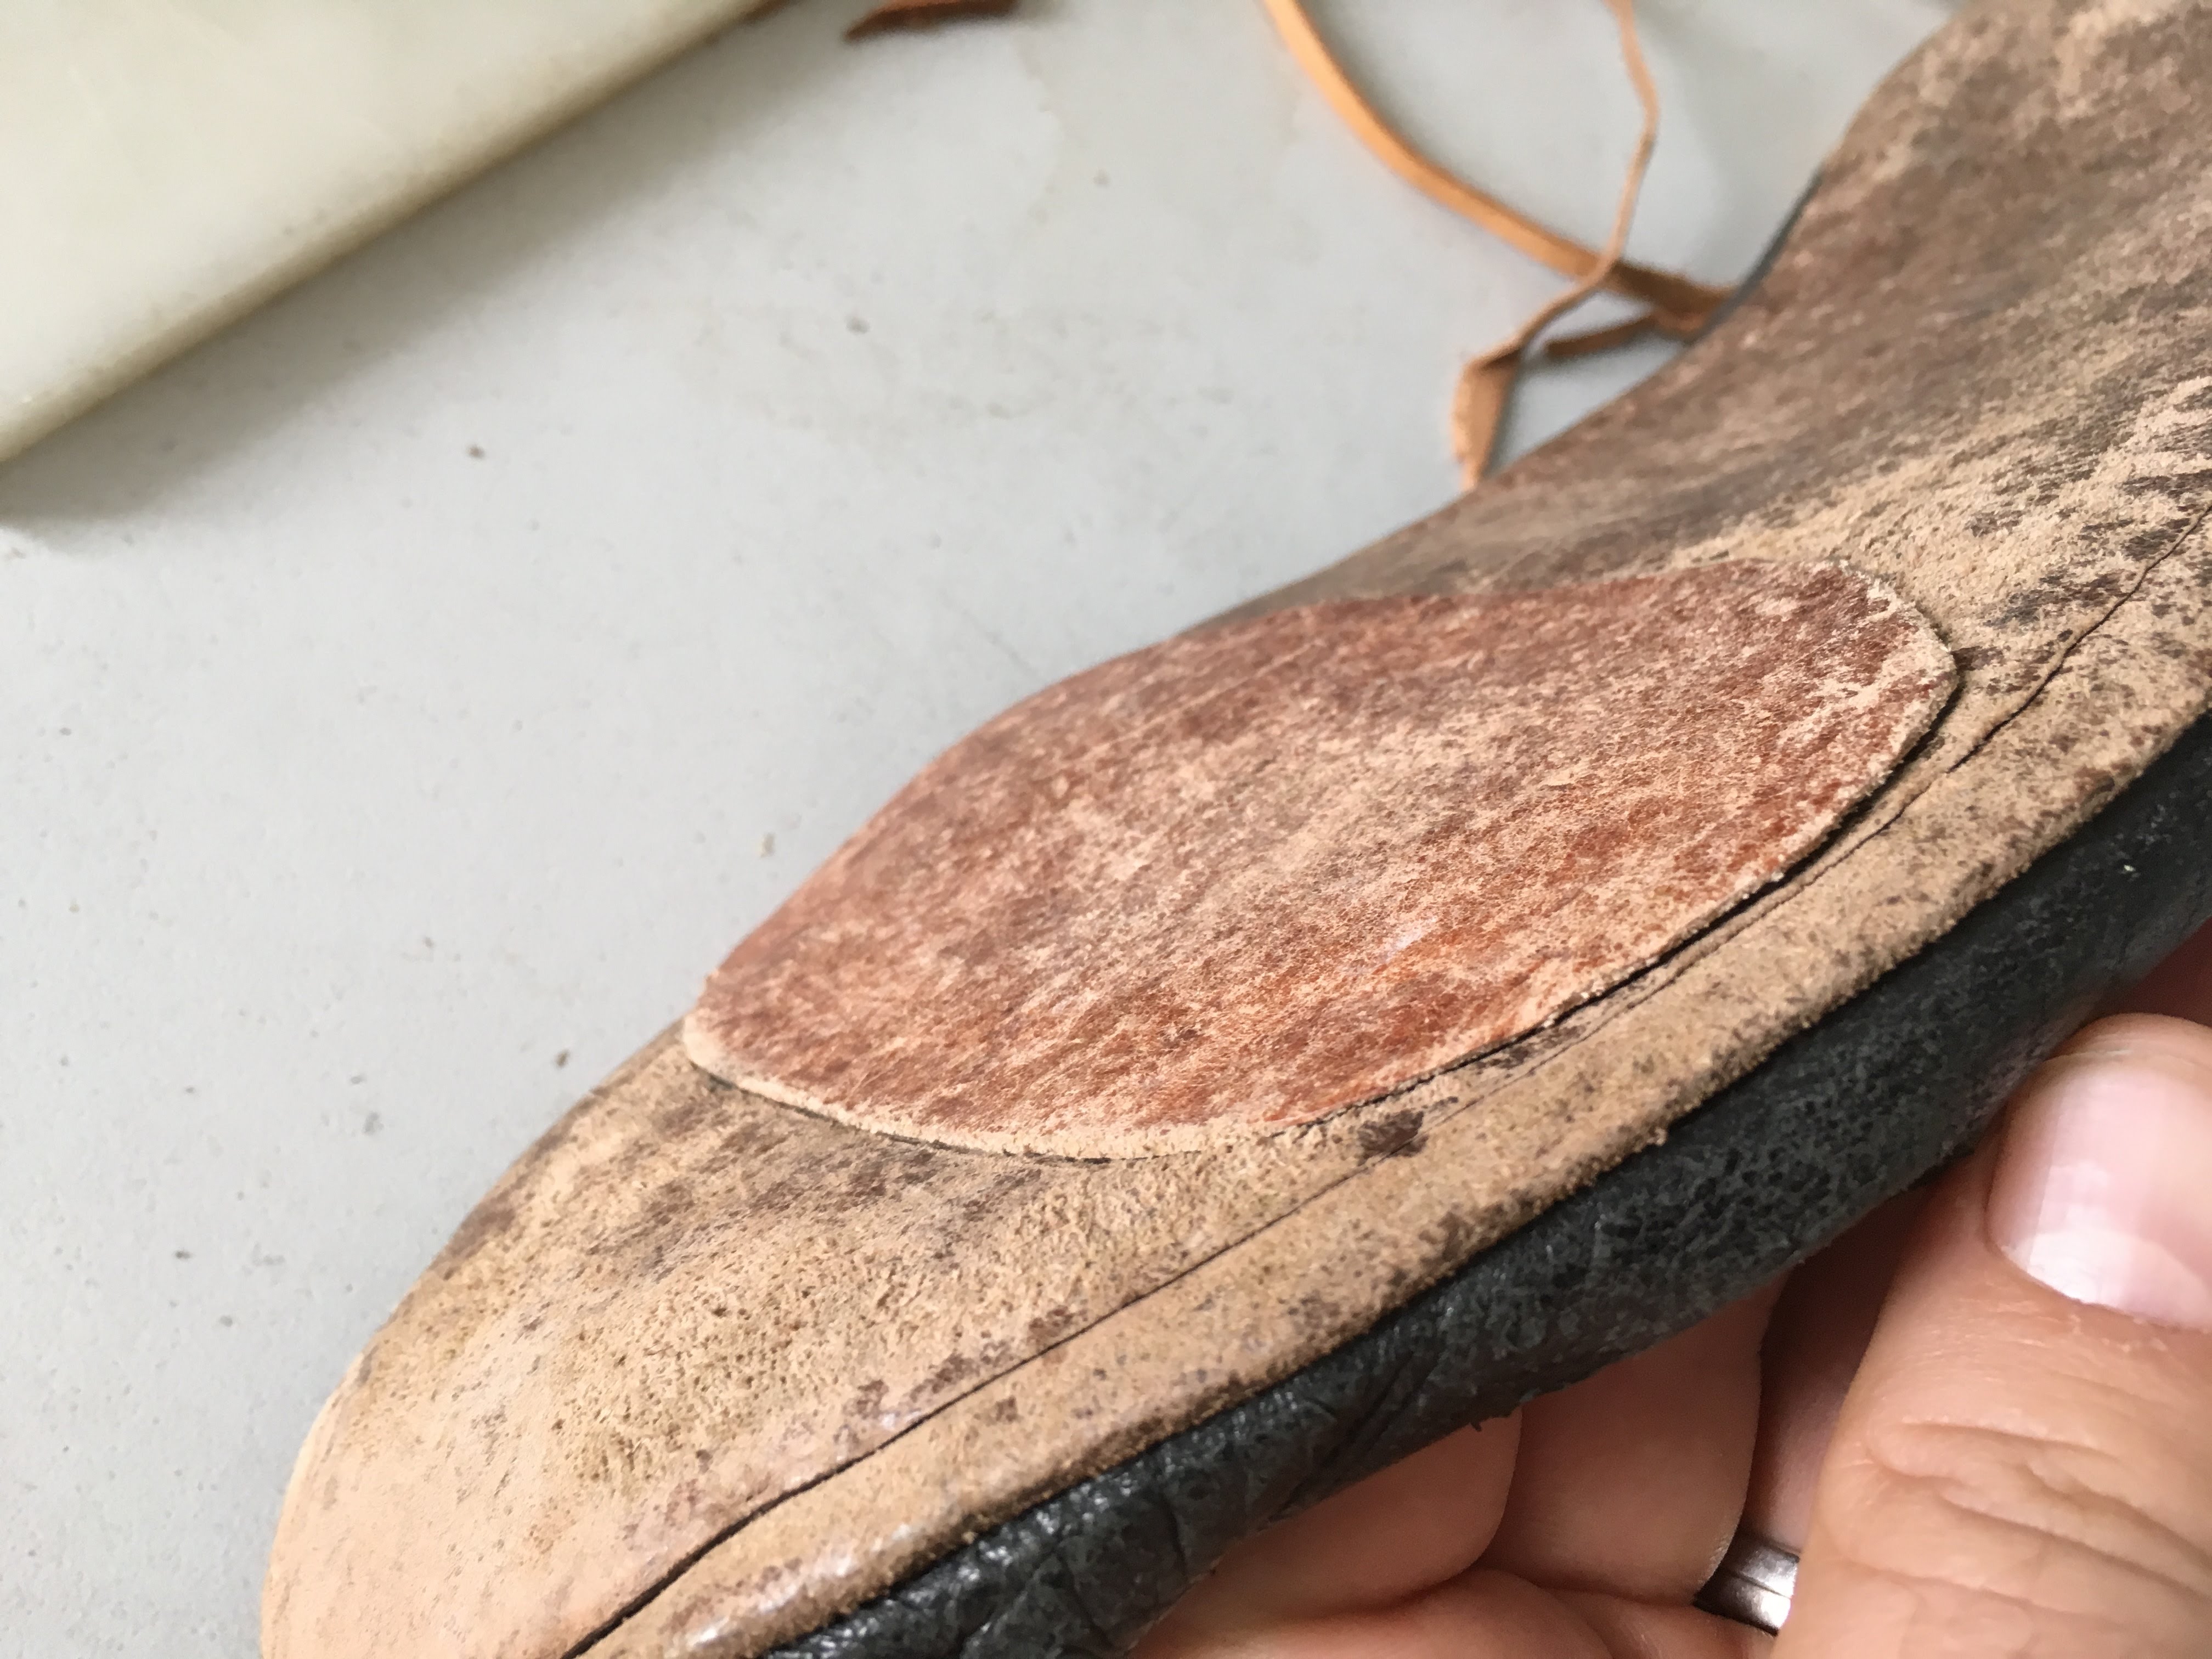
The finished patch shows the thread within the leather after a bit of burnishing (rubbing with a smooth object) to finish the job. Here’s the patch after 2 days of dry-weather wear. I’ve made no attempt to feather the edge of the patch or glue the patch. The patch has pressed its way into the sole and the square edges are wearing off pretty quickly. The patch was comfortable and not noticeable when wearing the shoes on rough ground.

All in all, this job took me 70 minutes for one shoe and used a bit of thread, a bristle and a leather offcut. I consider this was worthwhile to extend the life of the shoe.
I’d be curious to see how they fare after a ‘season’